Getting started
1. Install and activate
Install PlugUpp Link & Image Health Audit from the WordPress.org plugin directory (Plugins > Add New), or upload the ZIP under Plugins > Add New > Upload, then activate it. A new Link Health menu appears in the WordPress admin sidebar.
2. Scan your site
Open Link Health. Until your first scan has finished, the Dashboard opens with one step, Scan your site, in place of the results counts.
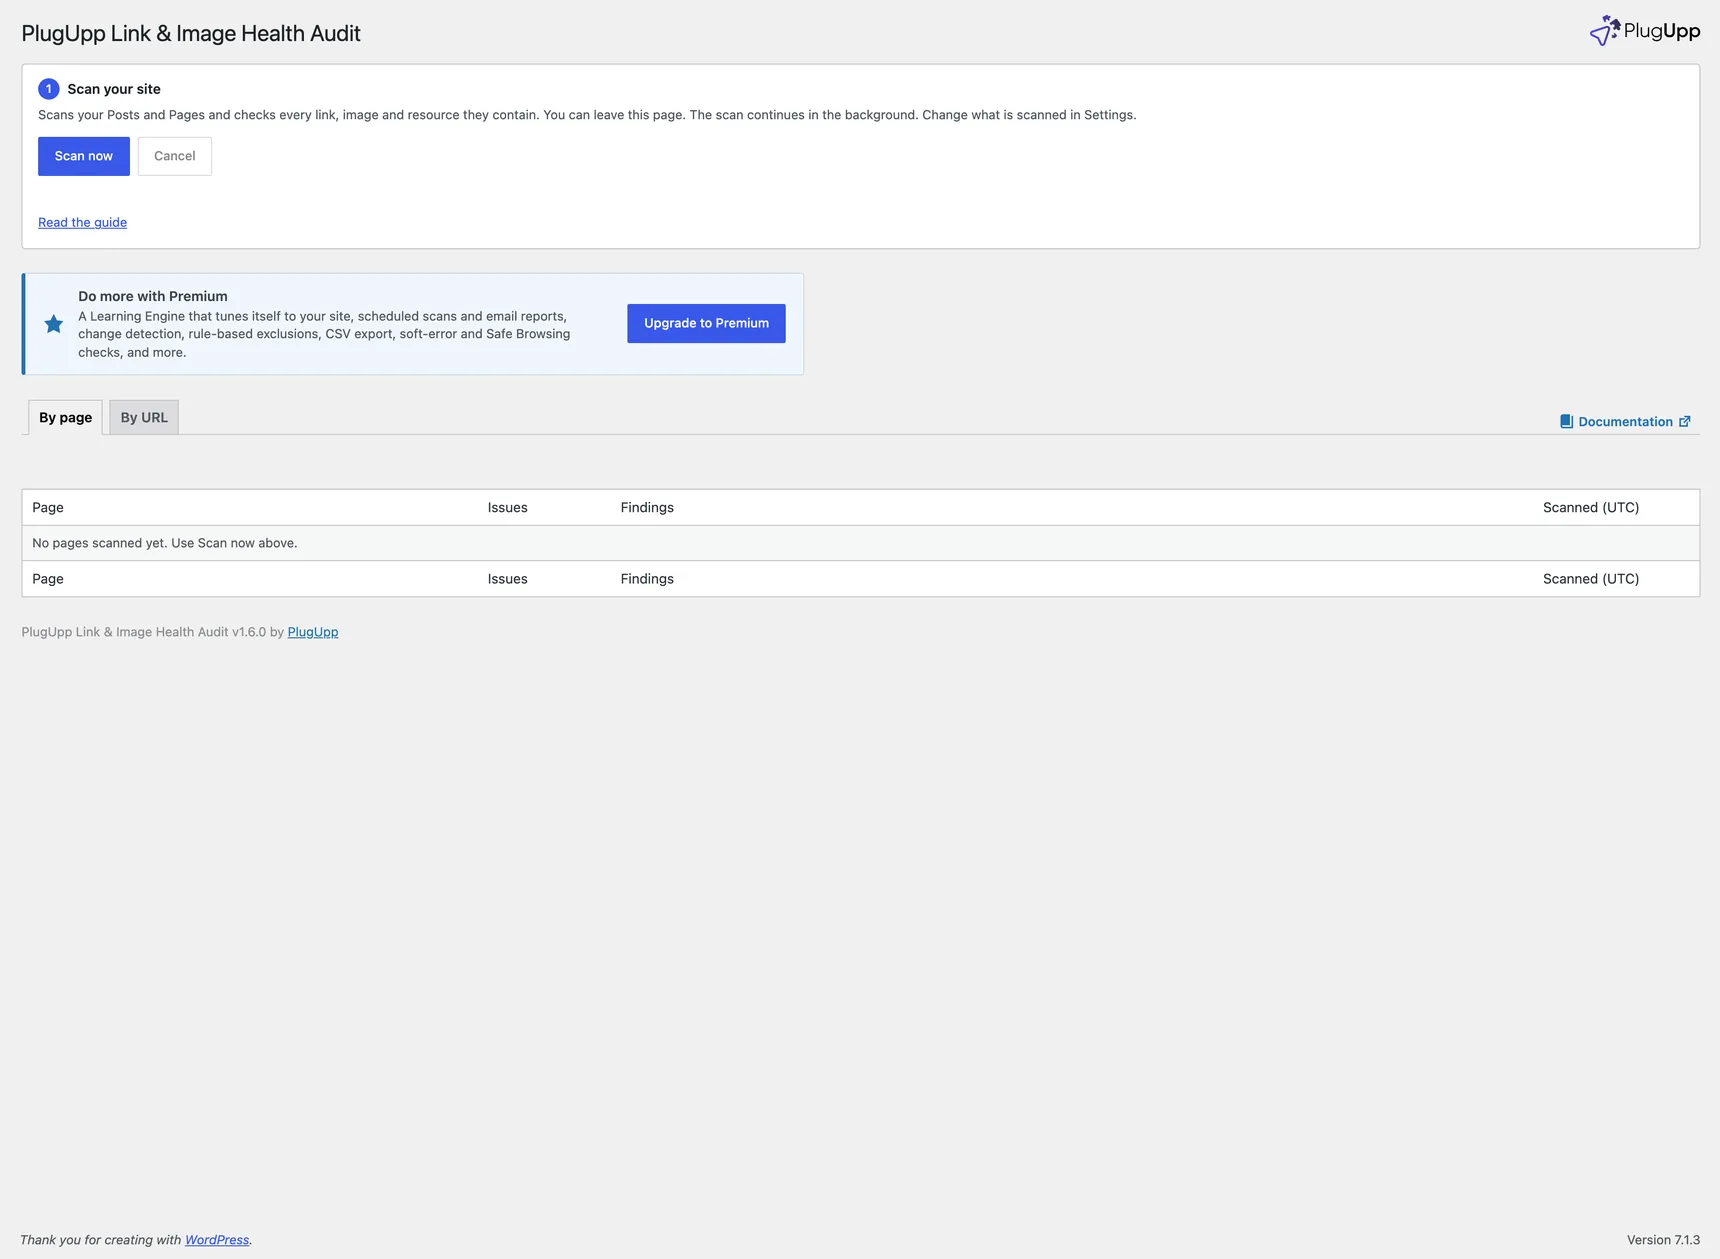
Click Scan now in the step. The plugin renders each of your pages the way a visitor's browser would, collects every link and image they contain, and then checks each one: internal links against your own site, external links over HTTP. A progress bar shows how far it has got. You can leave the page. The scan continues in the background. When it finishes, the step goes away and the Dashboard shows your results.
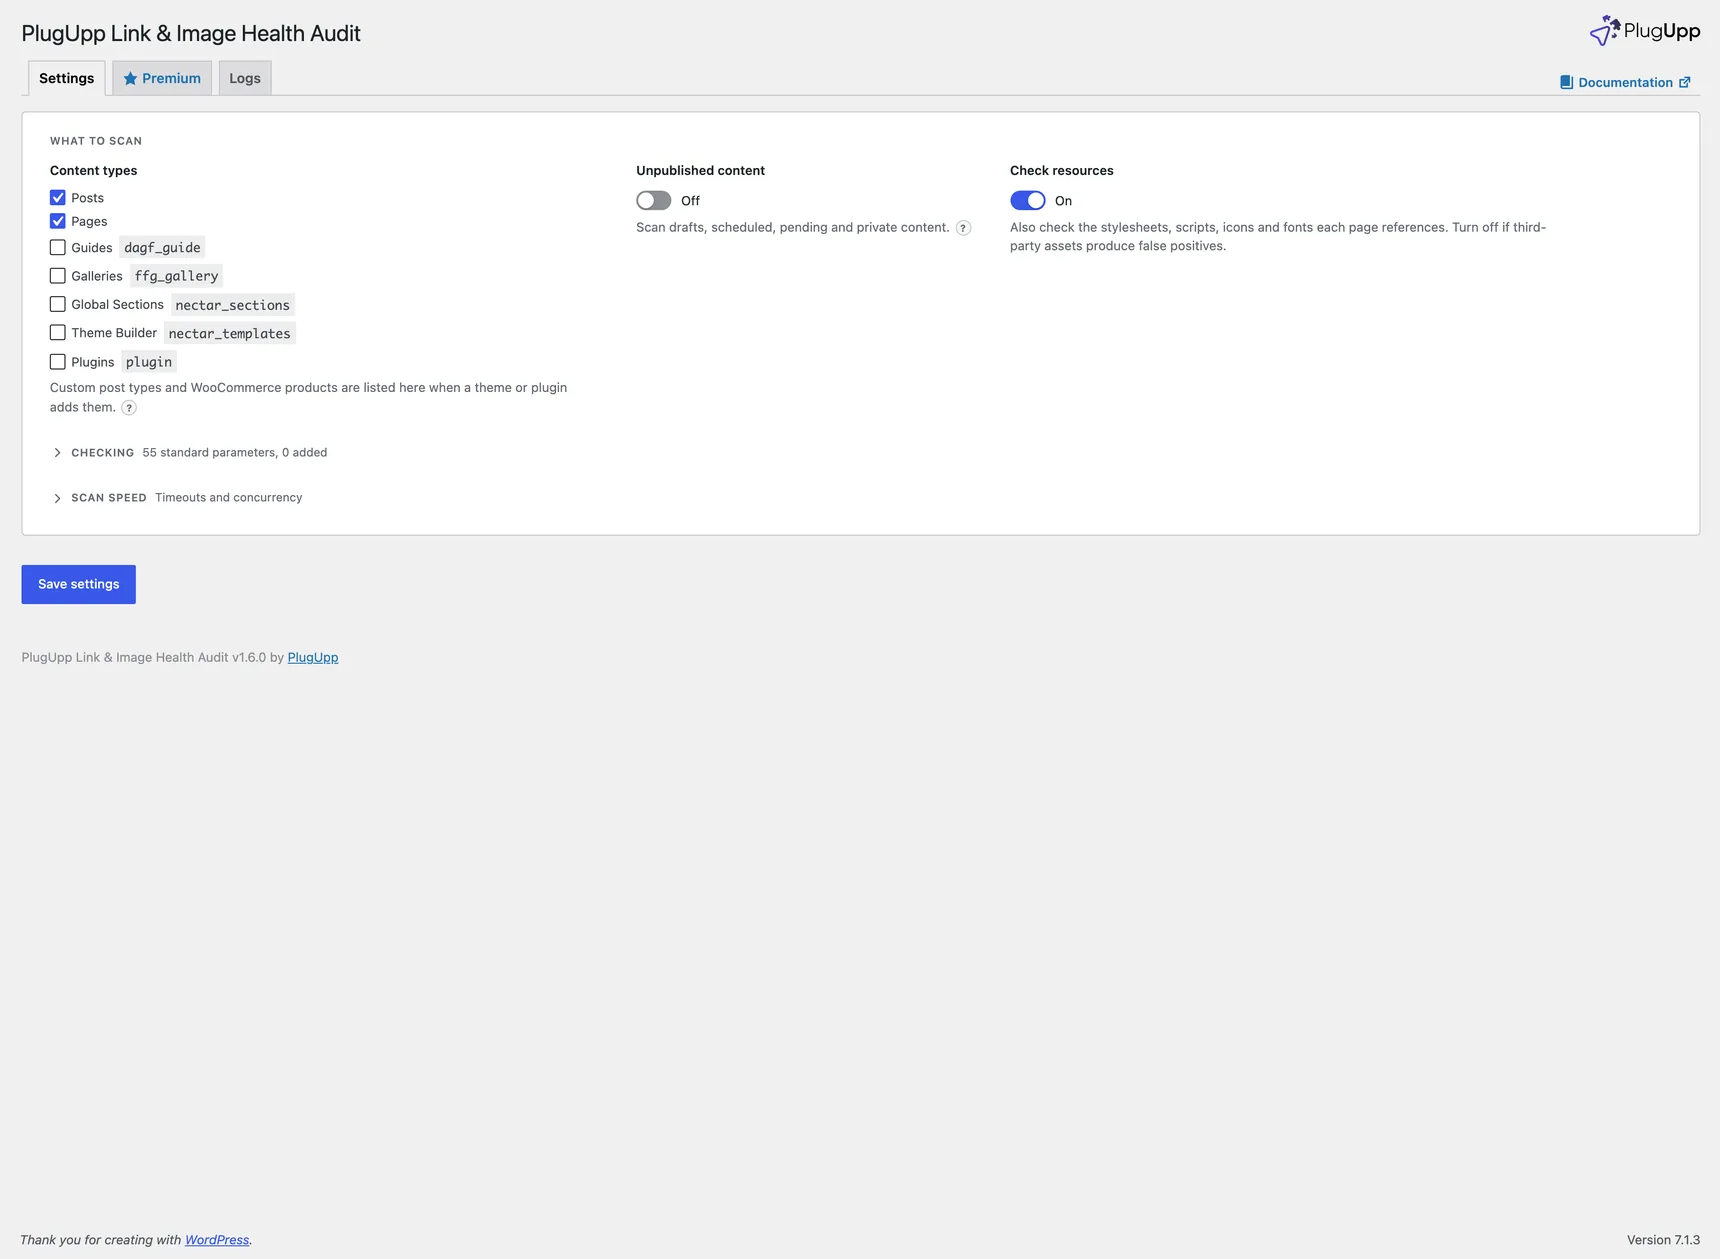
The first scan covers your Posts and Pages. In Settings you can also include custom post types and WooCommerce products, and unpublished content (drafts, scheduled, pending and private). All of that is free, and off by default. Paid plans add scheduled scans, change detection, email reports, the URL Parameter Learning Engine, and deeper checks.
3. Review the results
Results are shown two ways, with a colour-coded summary of Issues, Warnings and Notices across the top:
- By page - every scanned page, with its own Issues, Warnings and Notices counts, so you can find the pages that need the most attention. This is the view the Dashboard opens on.
- By URL - every unique link, image and resource, with its verdict: broken, an SSL or certificate problem, a redirect, "not checkable", or OK. Each row shows how many of your pages use that URL.
Both views are sorted worst-first. Open any finding to see the pages it appears on, jump to the live page or the editor, or view the page source with the offending link or image highlighted.
See Reviewing your results for the full tour of the views, the verdicts and the finding details.
4. Fine-tune what gets scanned
- Exclude pages you do not need to scan - from the row actions, the Exclusions screen, or in bulk from the standard Posts and Pages screens. Paid plans can also auto-exclude pages by rule. See Excluding content.
- Ignore an individual URL from its finding; it stays visible but stops counting.
- URL parameters - cache-busters and tracking tags (like
verandutm_source) are ignored so the same resource is not checked as many different URLs. The common ones are pre-filled; add your own, or let the Premium Learning Engine suggest them from your scans. - Settings opens on What to scan: one Content types list with Posts, Pages, your custom post types and WooCommerce products, then Unpublished content and Check resources. All of it is free. Paid plans add scheduled scans and email reports straight after it.
- Checking (the URL parameters, and on paid plans the request user-agent, soft-error detection and Safe Browsing) and Scan speed (timeouts and concurrency, each with a line on when to change it) are folded under their headings. Click a heading to open it. A folded group that holds a setting you changed opens by itself and says how many settings are changed.
- The Logs tab shows the log and holds the Share settings usage switch (see the FAQ).
Password-protected content is never scanned. Unpublished content (drafts, scheduled, pending and private) is skipped by default; switch on Unpublished content in Settings to include it - it is rendered privately for the scan only and never shown to visitors.